How To Build Your Own Bookcase: A Step-by-Step DIY Guide
Are you tired of spending a fortune on store-bought bookcases that don't even fit your space? Or maybe you want something unique, custom-made, and super satisfying to create with your own two hands? Building your own bookcase is easier than you think, and trust me, it’s gonna be a game-changer for your home. In this guide, we’ll walk you through everything you need to know to craft a stunning piece of furniture that reflects your personal style. Let’s dive in!
There’s something truly rewarding about building something yourself, and a bookcase is the perfect project for beginners and pros alike. Not only will you save money, but you’ll also get a custom piece tailored to your exact needs. Whether you’re working with limited space or just want to flex your DIY skills, this step-by-step guide has got you covered.
This isn’t just about slapping together some wood and calling it a day. We’re talking about creating a functional, stylish, and long-lasting piece of furniture that’ll make your friends jealous. So grab your tools, roll up your sleeves, and let’s get started on this awesome journey!
- Dick York Net Worth A Comprehensive Look At The Beloved Actors Life And Legacy
- 7 Movierulz Kannada Your Ultimate Guide To Understanding And Staying Safe
Why Build Your Own Bookcase?
Building your own bookcase offers a ton of benefits that you simply won’t get from buying one off the shelf. First off, it’s way cheaper. Seriously, think about it—why pay someone else to do something you can totally handle yourself? Plus, you have complete control over the design, size, and materials. If you’ve got a weirdly shaped room or need a specific height, no problem! You can customize it to fit perfectly.
Another cool thing? The satisfaction you’ll feel when you’re done. There’s nothing quite like looking at something you made with your own hands and knowing it’s 100% unique to you. And hey, if you mess up along the way (which happens to the best of us), it’s all part of the learning process. So why not give it a shot?
What You’ll Need to Get Started
Before you dive into building your bookcase, you’ll need to gather a few essential tools and materials. Don’t worry if you don’t have everything on hand—we’ll break it down for you so you know exactly what to pick up. Here’s the list:
- Mkvcinemas South Your Ultimate Destination For Entertainment And Movie Downloads
- Hdhub4u Movie Bollywood In Hindi Your Ultimate Guide To Hindi Films
- Wood planks (pine, oak, or whatever material you prefer)
- Screws and nails
- Wood glue
- Saw (hand saw or circular saw works)
- Drill
- Measuring tape
- Square
- Sandpaper
- Paint or stain (optional)
- Brushes or rags for finishing
Having all these tools ready will make the process smoother and more efficient. Plus, you’ll feel like a legit carpenter, which is always a plus.
Step 1: Planning Your Bookcase
Before you even touch a saw, you need to plan out your bookcase. This is where the magic happens! Start by measuring the space where you want to place your bookcase. How tall do you want it? How wide? How deep? These questions will help you determine the dimensions of your project.
Next, sketch out a rough design. Decide how many shelves you want, how far apart they should be, and any special features you’d like to add, like doors or decorative trim. Remember, this is YOUR bookcase, so let your creativity run wild. Just make sure your design is structurally sound—you don’t want it collapsing under the weight of your favorite books!
Tips for Planning
Here are a few pro tips to keep in mind while planning:
- Consider the weight of your books when deciding on shelf spacing.
- Leave a little extra space at the top in case you want to add more shelves later.
- Think about the style of your room and choose materials that complement it.
Planning might seem boring, but trust me, it’s the key to a successful build. Take your time with this step, and you’ll thank yourself later.
Step 2: Cutting Your Wood
Now that you’ve got your plan, it’s time to start cutting your wood. This is where things get exciting! Using your measuring tape and square, mark out the dimensions of each piece you’ll need. Double-check your measurements before you cut—there’s nothing worse than realizing you’ve just chopped off too much wood.
Once you’re ready, grab your saw and start cutting. If you’re using a hand saw, take your time and use steady, even strokes. For a circular saw, make sure you’ve got a guide to keep your cuts straight. Safety first, folks—always wear protective gear like gloves and goggles.
Safety First
Working with power tools can be dangerous if you’re not careful. Here are a few safety tips to keep in mind:
- Always wear eye protection when cutting wood.
- Keep your workspace clean and organized to avoid tripping hazards.
- Read the instructions for your tools carefully before using them.
By following these simple safety tips, you’ll ensure a smooth and injury-free build.
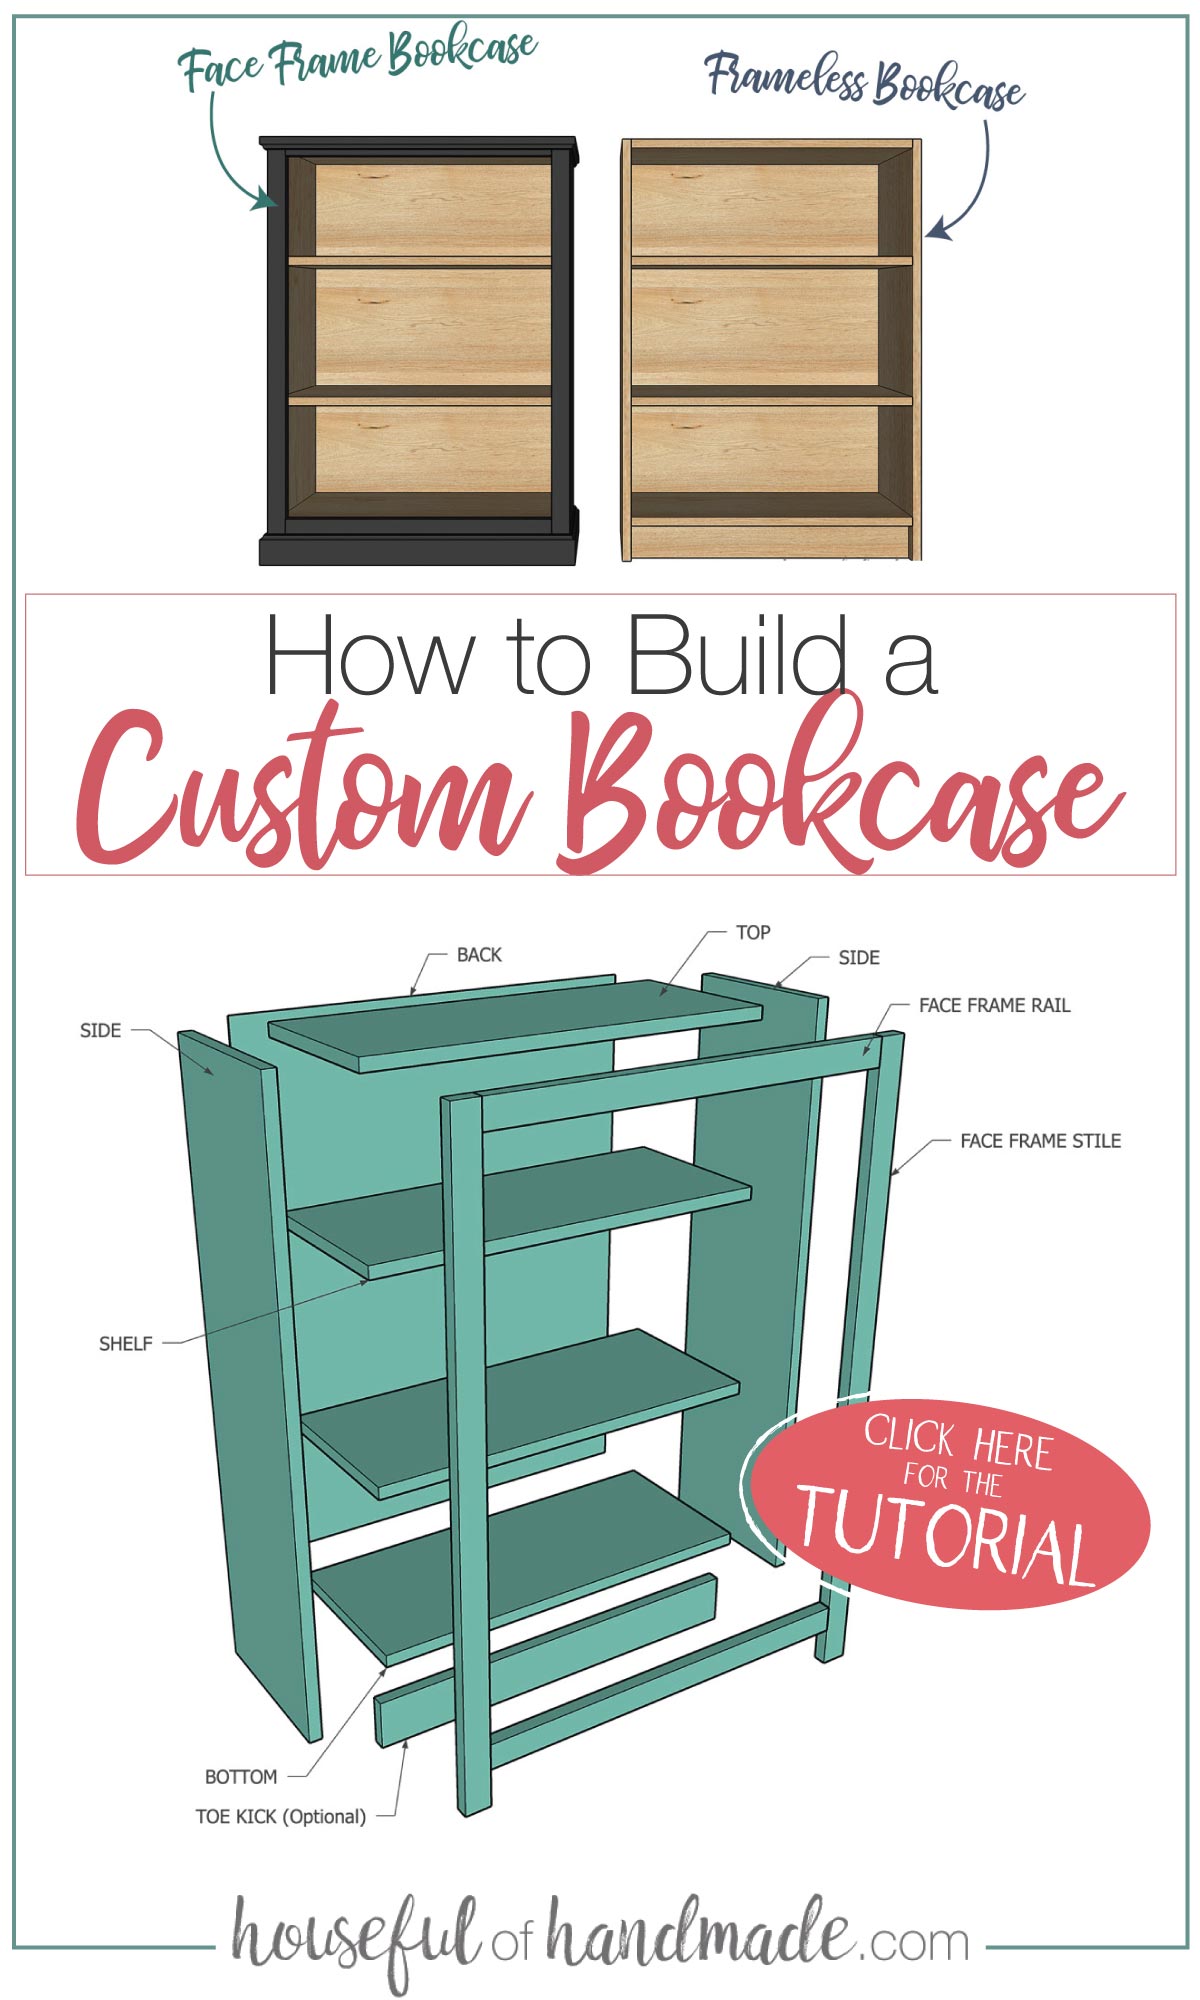
Step 3: Assembling the Frame
With your wood cut to size, it’s time to assemble the frame of your bookcase. Start by laying out your side panels and attaching the top and bottom pieces. Use wood glue and screws to secure everything in place. Make sure everything is square and level as you go—this will prevent any wobbling later on.
Once the frame is assembled, it’s time to add the shelves. Use brackets or cleats to attach them securely to the sides. Again, double-check that everything is level before tightening down the screws. You don’t want your books sliding off the shelves!
Adding Shelves
When adding shelves, consider using adjustable shelf pins. These allow you to easily change the height of your shelves in the future, giving you more flexibility with your storage options. Plus, they look super clean and professional.
Here’s a quick rundown of how to install shelf pins:
- Drill holes into the side panels at the desired shelf height.
- Insert the shelf pins into the holes.
- Place the shelves onto the pins and secure them with screws.
It’s a simple process, but it makes a big difference in the functionality of your bookcase.
Step 4: Sanding and Finishing
Now that your bookcase is assembled, it’s time to smooth it out and give it a polished look. Grab your sandpaper and start sanding down all the edges and surfaces. This will remove any rough spots and splinters, making your bookcase safe and comfortable to touch.
Once everything is smooth, it’s time to decide on a finish. Do you want a natural wood look, or would you prefer a painted finish? Whatever you choose, make sure to apply it evenly and let it dry completely before moving on to the next step.
Choosing the Right Finish
Here are a few popular finish options to consider:
- Stain: Adds color while maintaining the natural grain of the wood.
- Paint: Provides a fresh, modern look and comes in endless color options.
- Varnish: Protects the wood while enhancing its natural beauty.
No matter which finish you choose, make sure it complements your room’s decor. Your bookcase should be a statement piece, not an eyesore!
Step 5: Installing Your Bookcase
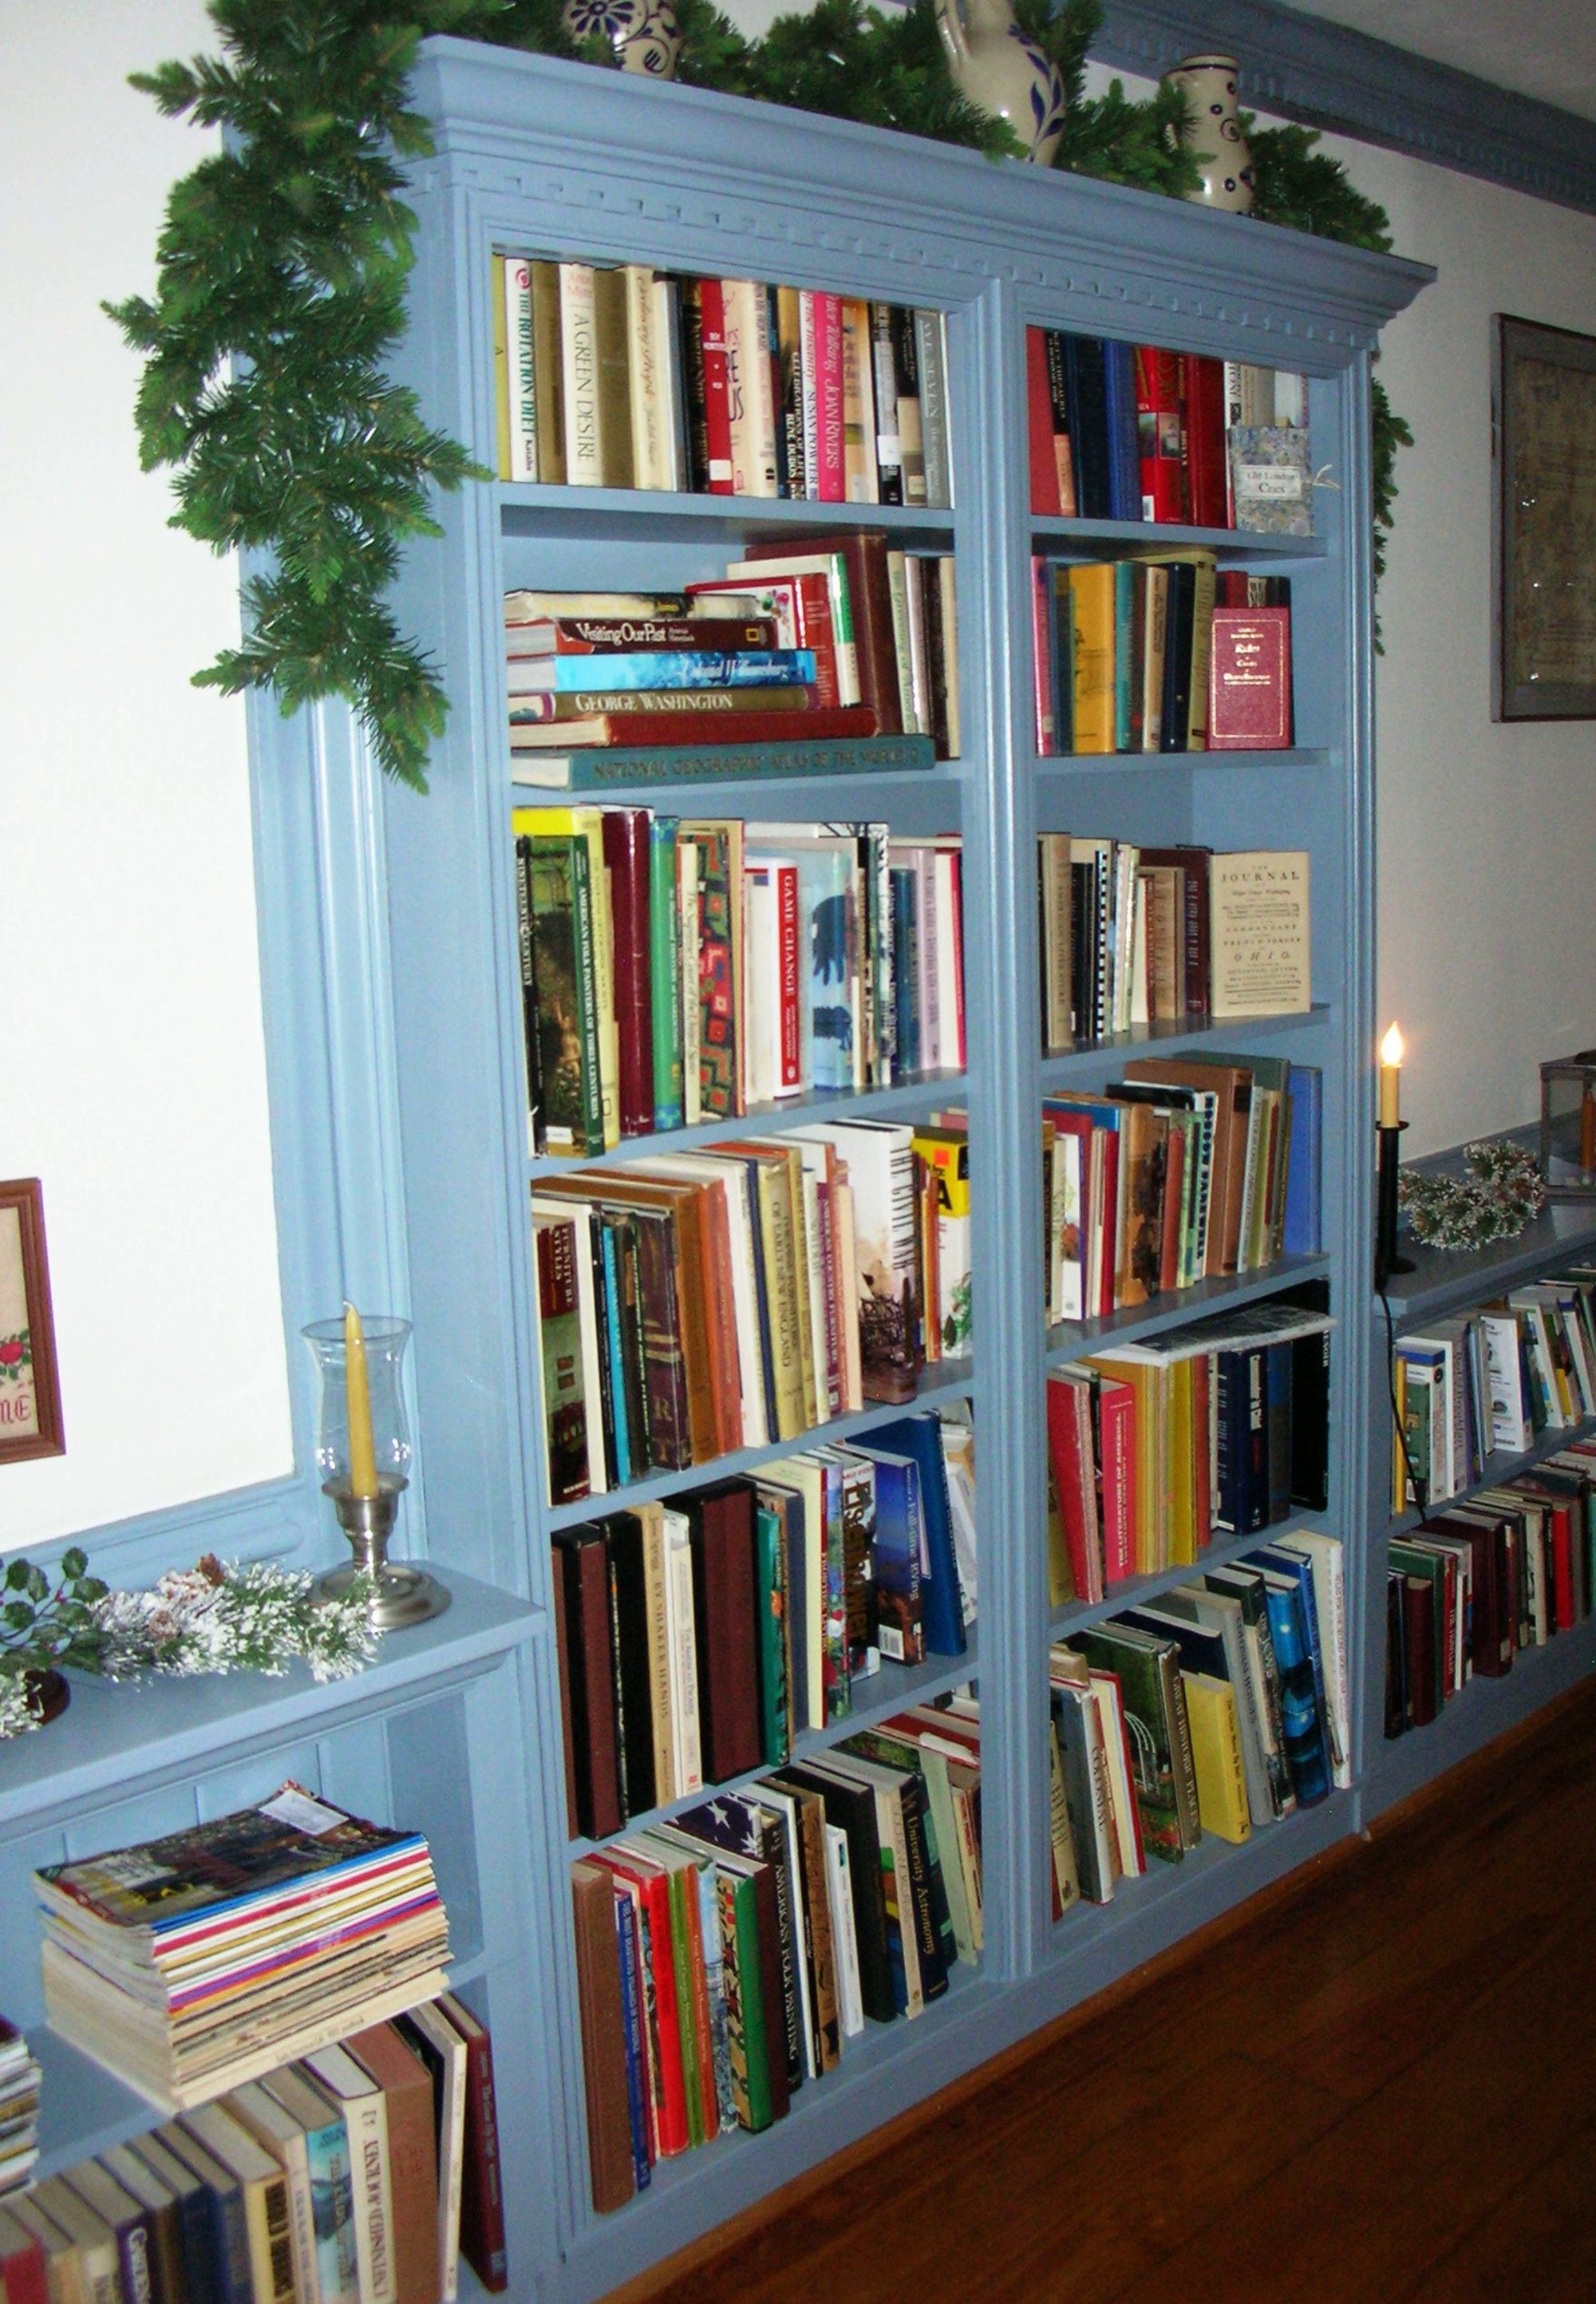
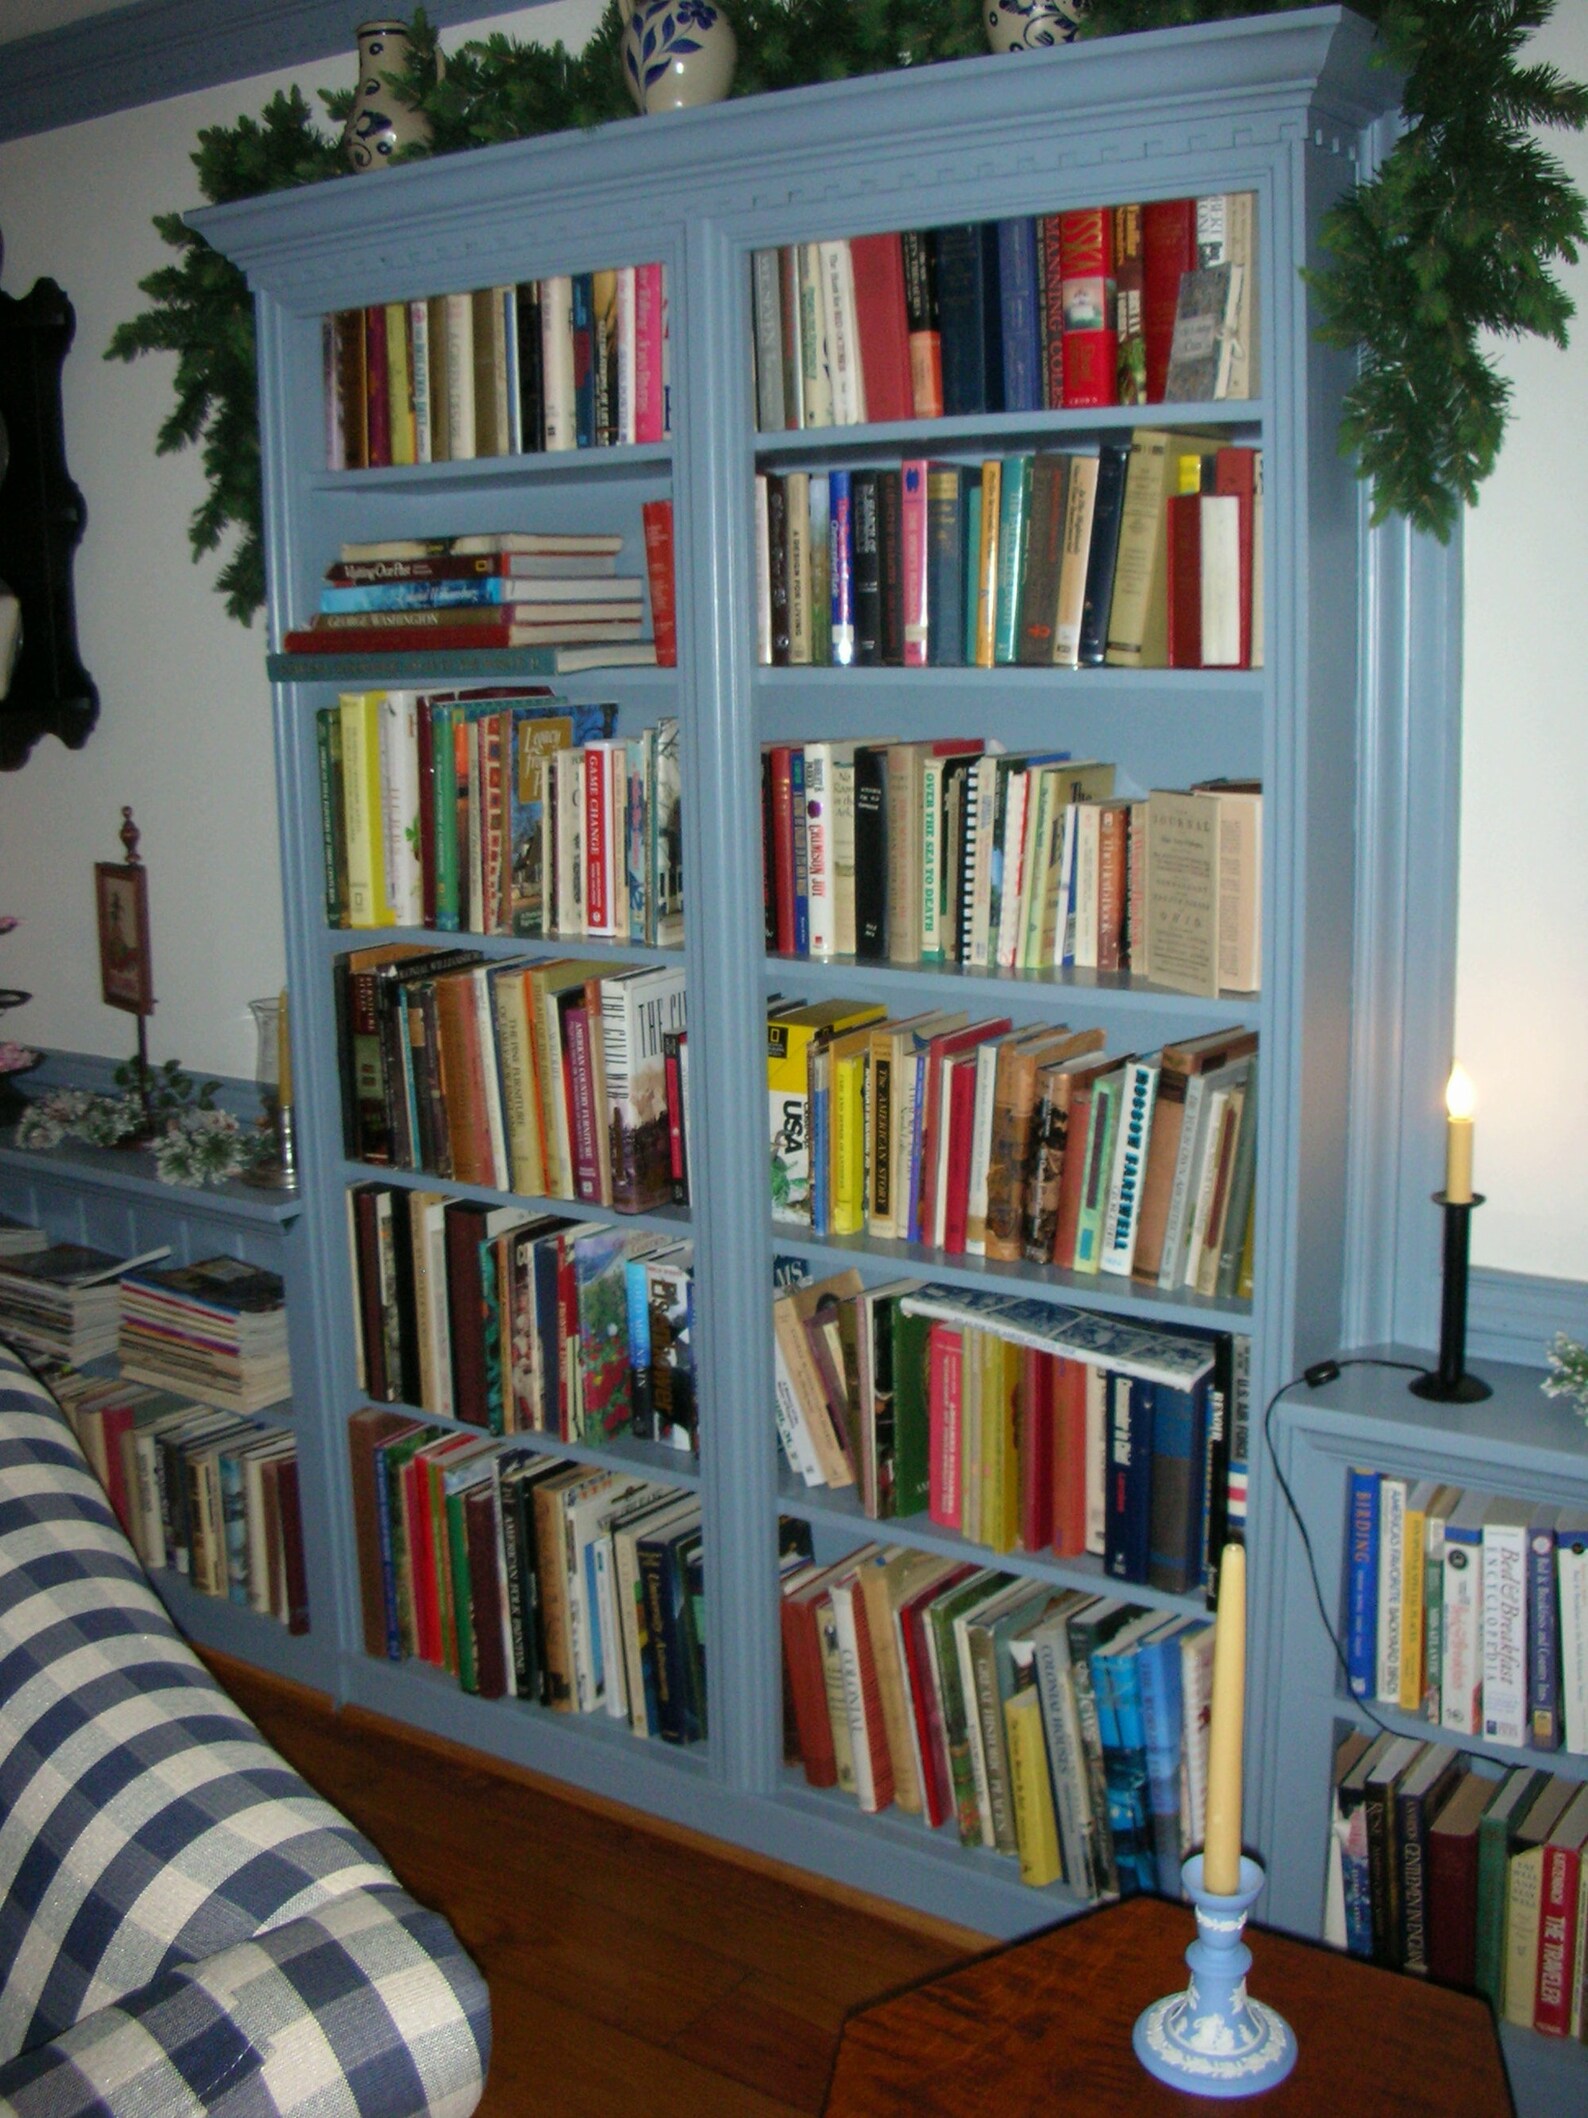
With your bookcase built and finished, it’s time to install it in its final location. If you’re mounting it to the wall, use brackets and anchors to secure it firmly in place. This will prevent it from tipping over and causing damage or injury.
Once it’s installed, take a step back and admire your handiwork. Doesn’t it look amazing? All that hard work has paid off, and now you’ve got a beautiful, custom bookcase to show off to the world.
Mounting Tips
Here are a few tips for mounting your bookcase:
- Use wall anchors for added stability.
- Make sure the bookcase is level before tightening the screws.
- Consider adding decorative trim for a finished look.
By following these tips, you’ll ensure your bookcase stays put and looks great for years to come.
Common Mistakes to Avoid
Building your own bookcase is a rewarding experience, but there are a few common mistakes that can trip you up along the way. Here are a few to watch out for:
- Not measuring twice before cutting—this leads to wasted wood and frustration.
- Skipping the sanding step—rough edges can be uncomfortable and dangerous.
- Not securing the bookcase properly—this can lead to accidents and damage.
By being aware of these potential pitfalls, you’ll be able to avoid them and have a smoother build process.
Where to Find Inspiration
If you’re feeling stuck on your design, there are plenty of places to find inspiration. Pinterest is a great resource for DIY bookcase ideas, and YouTube has tons of tutorials to walk you through the process. Don’t be afraid to mix and match ideas to create something truly unique.
Another great option is to visit local thrift stores or flea markets. Sometimes you can find old furniture that just needs a little love and creativity to transform into something amazing. Get inspired, get creative, and most importantly, have fun with it!
DIY Communities
Joining a DIY community can be a fantastic way to learn new skills and get feedback on your projects. Websites like Reddit and Facebook groups are full of like-minded individuals who are happy to share their expertise. You might even find someone in your area who’s willing to collaborate on a project with you.
So don’t be shy—jump into these communities and start learning from the best!
Conclusion
Building your own bookcase is a fantastic way to save money, customize your space, and flex your DIY muscles. By following this step-by-step guide, you’ll be able to create a beautiful, functional piece of furniture that reflects your personal style. Remember to take your time, double-check your measurements, and most importantly, have fun with the process.
Now that you’ve got all the info you need, it’s time to get started on your project. Share your progress in the comments below, and don’t forget to tag us in your photos on social media. We’d love to see what you create! And if you’re feeling inspired, check out our other DIY guides for more awesome project ideas.
Table of Contents
- Why Build Your Own Bookcase?
- What You’ll Need to Get Started
- Step 1: Planning Your Bookcase
- Step 2: Cutting Your Wood
- Step 3: Assembling the Frame
- Step 4: Sanding and Finishing
- Step 5: Installing Your Bookcase
- Common Mistakes to Avoid
- Where to Find Inspiration
- Conclusion
- Alicebeyx The Rising Star In The Digital World
- Dr Dre Marcel Young The Legendary Music Icon Redefining Sound And Success
How To Build Your Own Bookcase A StepbyStep DIY Guide
How To Build Your Own Bookcase A StepbyStep DIY Guide
Build Your Own Bookcase Pattern DIY Any Size Custom Bookshelf Etsy
