How To Create A Stunning DIY Ribbon Rose Bouquet Step-by-Step Guide
So listen up, folks. If you're looking to add a touch of elegance and creativity to your life, learning how to create a stunning DIY ribbon rose bouquet is the perfect place to start. Imagine this—you’re sitting at home, scrolling through Pinterest, and bam! You stumble upon these jaw-dropping ribbon rose bouquets that look like they were made by a professional florist. But guess what? You don’t need to be an expert to make one. All you need is some ribbon, patience, and this step-by-step guide to bring that dreamy vision to life. Trust me, it’s easier than it looks.
Now, let’s be real for a sec. Ribbon rose bouquets have been all the rage lately, and for good reason. They’re not only beautiful but also super versatile. You can use them for weddings, birthdays, anniversaries, or even just because you want to brighten up your living room. Plus, they’re way cheaper than fresh flowers, and they’ll last forever. No wilting, no fading, just pure beauty.
But here’s the deal—while the idea of making a DIY ribbon rose bouquet sounds amazing, it can feel overwhelming if you don’t know where to start. That’s why I’ve put together this ultimate guide to walk you through every single step. From choosing the right ribbon to assembling the bouquet, I’ve got you covered. So grab your scissors, put on your favorite playlist, and let’s dive in!
- Sam Heughan Kids Exploring The Life And Legacy Of The Outlander Star
- Simon Cowells Son The Journey Of A Media Moguls Heir
Daftar Isi
Why Ribbon Rose Bouquets Are the New Trend
Tools and Materials You’ll Need
Choosing the Perfect Ribbon for Your Bouquet
- Hdmovies4u Your Ultimate Guide To Stream And Download Movies
- P Diddy Height The Truth Behind The Iconic Artists Stature
How to Make a Single Ribbon Rose
Step-by-Step Guide to Assembling the Bouquet
Tips for Adding Your Personal Touch
How to Preserve Your Ribbon Rose Bouquet
Creative Uses for Ribbon Rose Bouquets
Conclusion: Start Crafting Your Masterpiece Today
Why Ribbon Rose Bouquets Are the New Trend
Let’s talk trends, shall we? Ribbon rose bouquets have taken the crafting world by storm, and it’s not hard to see why. Unlike fresh flowers, which can be expensive and short-lived, ribbon roses are a budget-friendly and long-lasting alternative. Plus, they’re customizable, meaning you can create a bouquet that perfectly matches your style or occasion. Whether you’re into pastel shades for a romantic look or bold colors for a statement piece, the possibilities are endless.
Another reason ribbon rose bouquets are so popular is their versatility. They’re not just for weddings anymore. These days, people are using them for everything from home decor to gifts. And let’s not forget the satisfaction of making something with your own two hands. There’s something truly rewarding about crafting a bouquet that you can proudly display or give to someone special.
Why DIY Matters
Now, you might be wondering, “Why bother with DIY when I can just buy a ready-made bouquet?” Great question. While buying a pre-made bouquet is convenient, there’s something magical about creating your own. You get to choose every single detail—the colors, the textures, the arrangement. Plus, DIY projects are a great way to unwind and express your creativity. So if you’re ready to join the ribbon rose revolution, let’s get started!
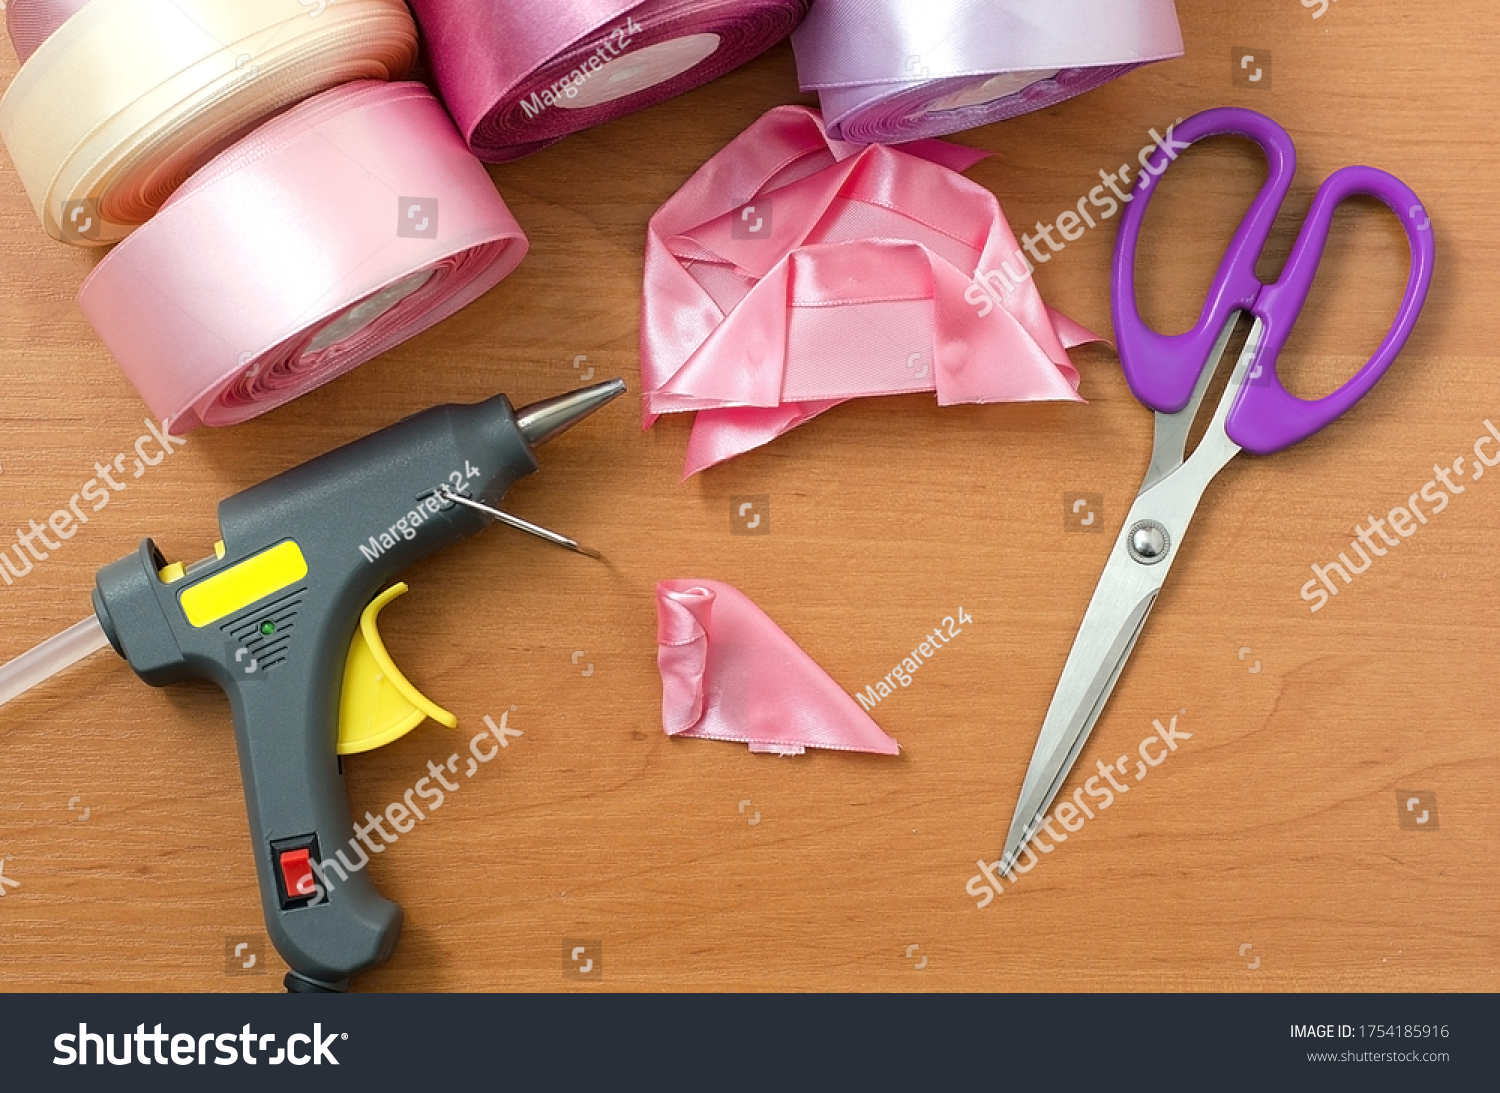
Tools and Materials You’ll Need
Before we dive into the nitty-gritty of making your bouquet, let’s talk about the tools and materials you’ll need. Having the right supplies on hand will make the process smoother and more enjoyable. Here’s a quick rundown:
- Ribbon (satin, organza, or velvet work best)
- Floral wire (20-gauge or 22-gauge)
- Floral tape
- Scissors
- Hot glue gun and glue sticks
- Floral foam or a bouquet holder (optional)
Pro tip: Invest in high-quality ribbon for the best results. Cheap ribbon might save you money upfront, but it won’t hold up as well, and your bouquet won’t look as polished.
Where to Find Quality Supplies
So where do you get all this stuff? Your local craft store is a great place to start. Places like Michaels, Jo-Ann Fabric, or Hobby Lobby usually have a wide selection of ribbons and floral supplies. Plus, they often offer coupons, so you can save a few bucks. If you prefer shopping online, Amazon and Etsy are also fantastic options.
Choosing the Perfect Ribbon for Your Bouquet
Choosing the right ribbon is crucial for creating a stunning bouquet. Different types of ribbon offer different textures and finishes, so it’s important to pick one that suits your vision. Here are some popular options:
- Satin Ribbon: Smooth, shiny, and luxurious. Perfect for formal occasions.
- Organza Ribbon: Lightweight and sheer, giving your bouquet a delicate, ethereal look.
- Velvet Ribbon: Soft and rich, ideal for winter weddings or holiday-themed bouquets.
When selecting a ribbon, consider the occasion, color scheme, and overall vibe you’re going for. For example, if you’re making a bouquet for a summer wedding, you might want to go with pastel satin ribbons. On the other hand, velvet ribbons in deep reds or greens would be perfect for a Christmas centerpiece.
Color Combinations to Inspire You
Color is everything when it comes to ribbon rose bouquets. Here are a few combinations to spark your creativity:
- Pastel Dreams: Soft pink, baby blue, and lavender
- Classic Elegance: Ivory, gold, and cream
- Bold and Beautiful: Bright red, emerald green, and royal blue
Remember, there are no hard and fast rules when it comes to color. Feel free to experiment and create your own unique combinations.
How to Make a Single Ribbon Rose
Alright, it’s time to get our hands dirty—or rather, our fingers sticky. Let’s break down how to make a single ribbon rose. This is the foundation of your bouquet, so pay attention!
Step 1: Cut a piece of ribbon about 12 inches long. Fold it in half lengthwise to create a crease.
Step 2: Take one end of the ribbon and fold it diagonally to form a petal shape. Secure it with a small piece of floral wire.
Step 3: Continue adding petals by folding the ribbon and wrapping it around the center. Use the floral wire to hold everything in place as you go.
Step 4: Once you’ve reached the desired size, wrap the base of the rose with floral tape to cover the wire and create a smooth stem.
And there you have it—one beautiful ribbon rose! Repeat this process until you have enough roses for your bouquet.
Tips for Perfecting Your Roses
Here are a few tips to help you create flawless ribbon roses:
- Don’t rush the process. Take your time to ensure each petal is evenly shaped.
- Experiment with different sizes of roses to add depth and dimension to your bouquet.
- Use hot glue sparingly. Too much glue can make your roses stiff and less realistic.
Step-by-Step Guide to Assembling the Bouquet
Now that you’ve made your ribbon roses, it’s time to assemble them into a stunning bouquet. Follow these steps for a professional-looking result:
Step 1: Start by arranging your roses in a cluster. Play around with the placement until you’re happy with the layout.
Step 2: Use floral wire to attach the roses together. Twist the wires tightly to secure the bouquet.
Step 3: Wrap the stems with floral tape, starting from the base of the roses and working your way down. This will give your bouquet a polished finish.
Step 4: Add any additional embellishments, such as ribbon bows or greenery, to complete the look.
Voila! Your bouquet is ready to impress.
Adding Greenery for a Natural Touch
Greenery is a great way to add texture and balance to your bouquet. You can use silk leaves or artificial greenery from your local craft store. Simply attach them to the stems using floral wire or hot glue. This small detail can make a big difference in the overall appearance of your bouquet.
Tips for Adding Your Personal Touch
One of the best things about making a DIY ribbon rose bouquet is that you can customize it to reflect your personality. Here are a few ideas to inspire you:
- Add glitter or metallic accents for a glamorous look.
- Incorporate lace or tulle for a vintage-inspired design.
- Use patterned ribbon for a unique and eye-catching bouquet.
Don’t be afraid to think outside the box and let your creativity shine. After all, this is your masterpiece!
DIY Projects That Go Beyond Bouquets
Once you’ve mastered the art of making ribbon roses, you can apply your skills to other DIY projects. Think ribbon wreaths, hair accessories, or even home decor items. The possibilities are endless!
Common Mistakes to Avoid
Even the most seasoned crafters make mistakes from time to time. Here are a few pitfalls to watch out for:
- Using low-quality ribbon that doesn’t hold its shape.
- Not securing the petals properly, causing the roses to fall apart.
- Rushing through the process and ending up with uneven petals.
Remember, patience and attention to detail are key. Take your time, and don’t be afraid to ask for help if you get stuck.
How to Fix Mistakes
Mistakes happen, but the good news is that most of them can be fixed. If a rose falls apart, simply reassemble it using more floral wire or hot glue. If the colors don’t quite match, try rearranging the roses or adding a contrasting accent. With a little creativity, you can turn any mistake into an opportunity to improve your bouquet.
How to Preserve Your Ribbon Rose Bouquet
Since ribbon rose bouquets don’t wilt like fresh flowers, they’re a great investment. But to ensure your bouquet stays looking its best, follow these preservation tips:
- Store your bouquet in a cool, dry place away from direct sunlight.
- Avoid exposing it to moisture, as this can damage the ribbon.
- Handle it gently to prevent the petals from becoming crushed or misshapen.
With proper care, your bouquet can last for years, bringing joy and beauty to your home or special occasions.
Cleaning and Maintenance
If your bouquet gets dusty over time, you can gently clean it using a soft brush or a can of compressed air. Avoid using water or harsh chemicals, as these can damage the ribbon. Regular maintenance will keep your bouquet looking fresh and vibrant.
Creative Uses for Ribbon Rose Bouquets
Beyond weddings and birthdays, ribbon rose bouquets can be used in countless creative ways. Here are a few ideas to get you started:
- Create a centerpiece for your dining table.
- Make a keepsake bouquet for a special occasion.
- Design a ribbon rose garland for parties or events.
The only limit is your imagination. So go ahead and let your creativity run wild!
Sharing Your Masterpiece
Once you’ve created your stunning bouquet, don’t forget to share it with the world. Post a picture on social media, enter it in a crafting competition, or give it as a gift to someone special. Your hard work deserves to be celebrated!
Conclusion: Start Crafting Your Masterpiece Today
And there you have it, folks—a comprehensive guide to creating a stunning DIY ribbon rose bouquet. From choosing the right ribbon to assembling the perfect bouquet, I hope this
- Crumbl Cookies Of The Week Menu A Sweet Adventure For Every Taste Bud
- Why Baseboard Corner Protectors Are Essential For Every Home

How To Create A Stunning DIY Ribbon Rose Bouquet StepbyStep Guide

Ribbon Rose Bouquets
Stepbystep Instruction Rose Made Satin Ribbon Stock Photo (Edit Now
