How To Create A DIY Otter Costume: Step-by-Step Guide For All Ages
Ever wondered how to create a DIY otter costume that’s perfect for everyone, no matter their age? Well, buckle up, my friend, because you’re about to dive into the ultimate guide to crafting the cutest otter costume ever. Whether you’re doing this for a Halloween party, a school play, or just for fun, this step-by-step tutorial will have you swimming in creativity in no time.
Creating a DIY otter costume might sound intimidating, but trust me, it’s a lot easier than you think. With just a few materials and some patience, you’ll be able to transform yourself or your little ones into adorable otters. Plus, it’s a great way to bond with family and friends while working on a fun project together.
This guide is designed for all skill levels, so whether you’re a seasoned crafter or a total beginner, you’ll find everything you need to make your otter costume dreams come true. So, grab your scissors, glue, and fabric, and let’s get started!
- Hdhub4u New Link Your Ultimate Guide To Accessing Latest Movies And Tv Shows
- Choosing The Perfect Litter Boxes For Cats A Comprehensive Guide
Why a DIY Otter Costume?
There’s something magical about creating your own costume. Not only does it save you money, but it also allows you to personalize it to your liking. Otters are one of the cutest animals out there, and crafting a DIY otter costume means you can bring that charm to life in your own unique way.
Plus, making a DIY otter costume is a fantastic activity for kids and adults alike. It encourages creativity, problem-solving, and teamwork. And let’s be honest, who wouldn’t want to show off their handmade otter costume at the next costume party?
What You’ll Need to Get Started
Before we dive into the step-by-step process, let’s gather all the materials you’ll need. Having everything ready beforehand will make the process smoother and more enjoyable.
- Chase Stokes Stranger Things Scene A Detailed Look At His Iconic Moments
- Talissa Smalley Understanding The Controversy And Setting The Record Straight
Materials for Your DIY Otter Costume
- Fuzzy brown fabric (for the body)
- White fabric (for the belly)
- Fabric glue or a sewing machine
- Stuffing material (for the ears and tail)
- Black felt (for the nose and eyes)
- Scissors
- Hot glue gun (optional)
- Embroidery thread (optional)
These materials can be found at most craft stores or online retailers. If you’re on a budget, consider checking out thrift stores for affordable fabric options.
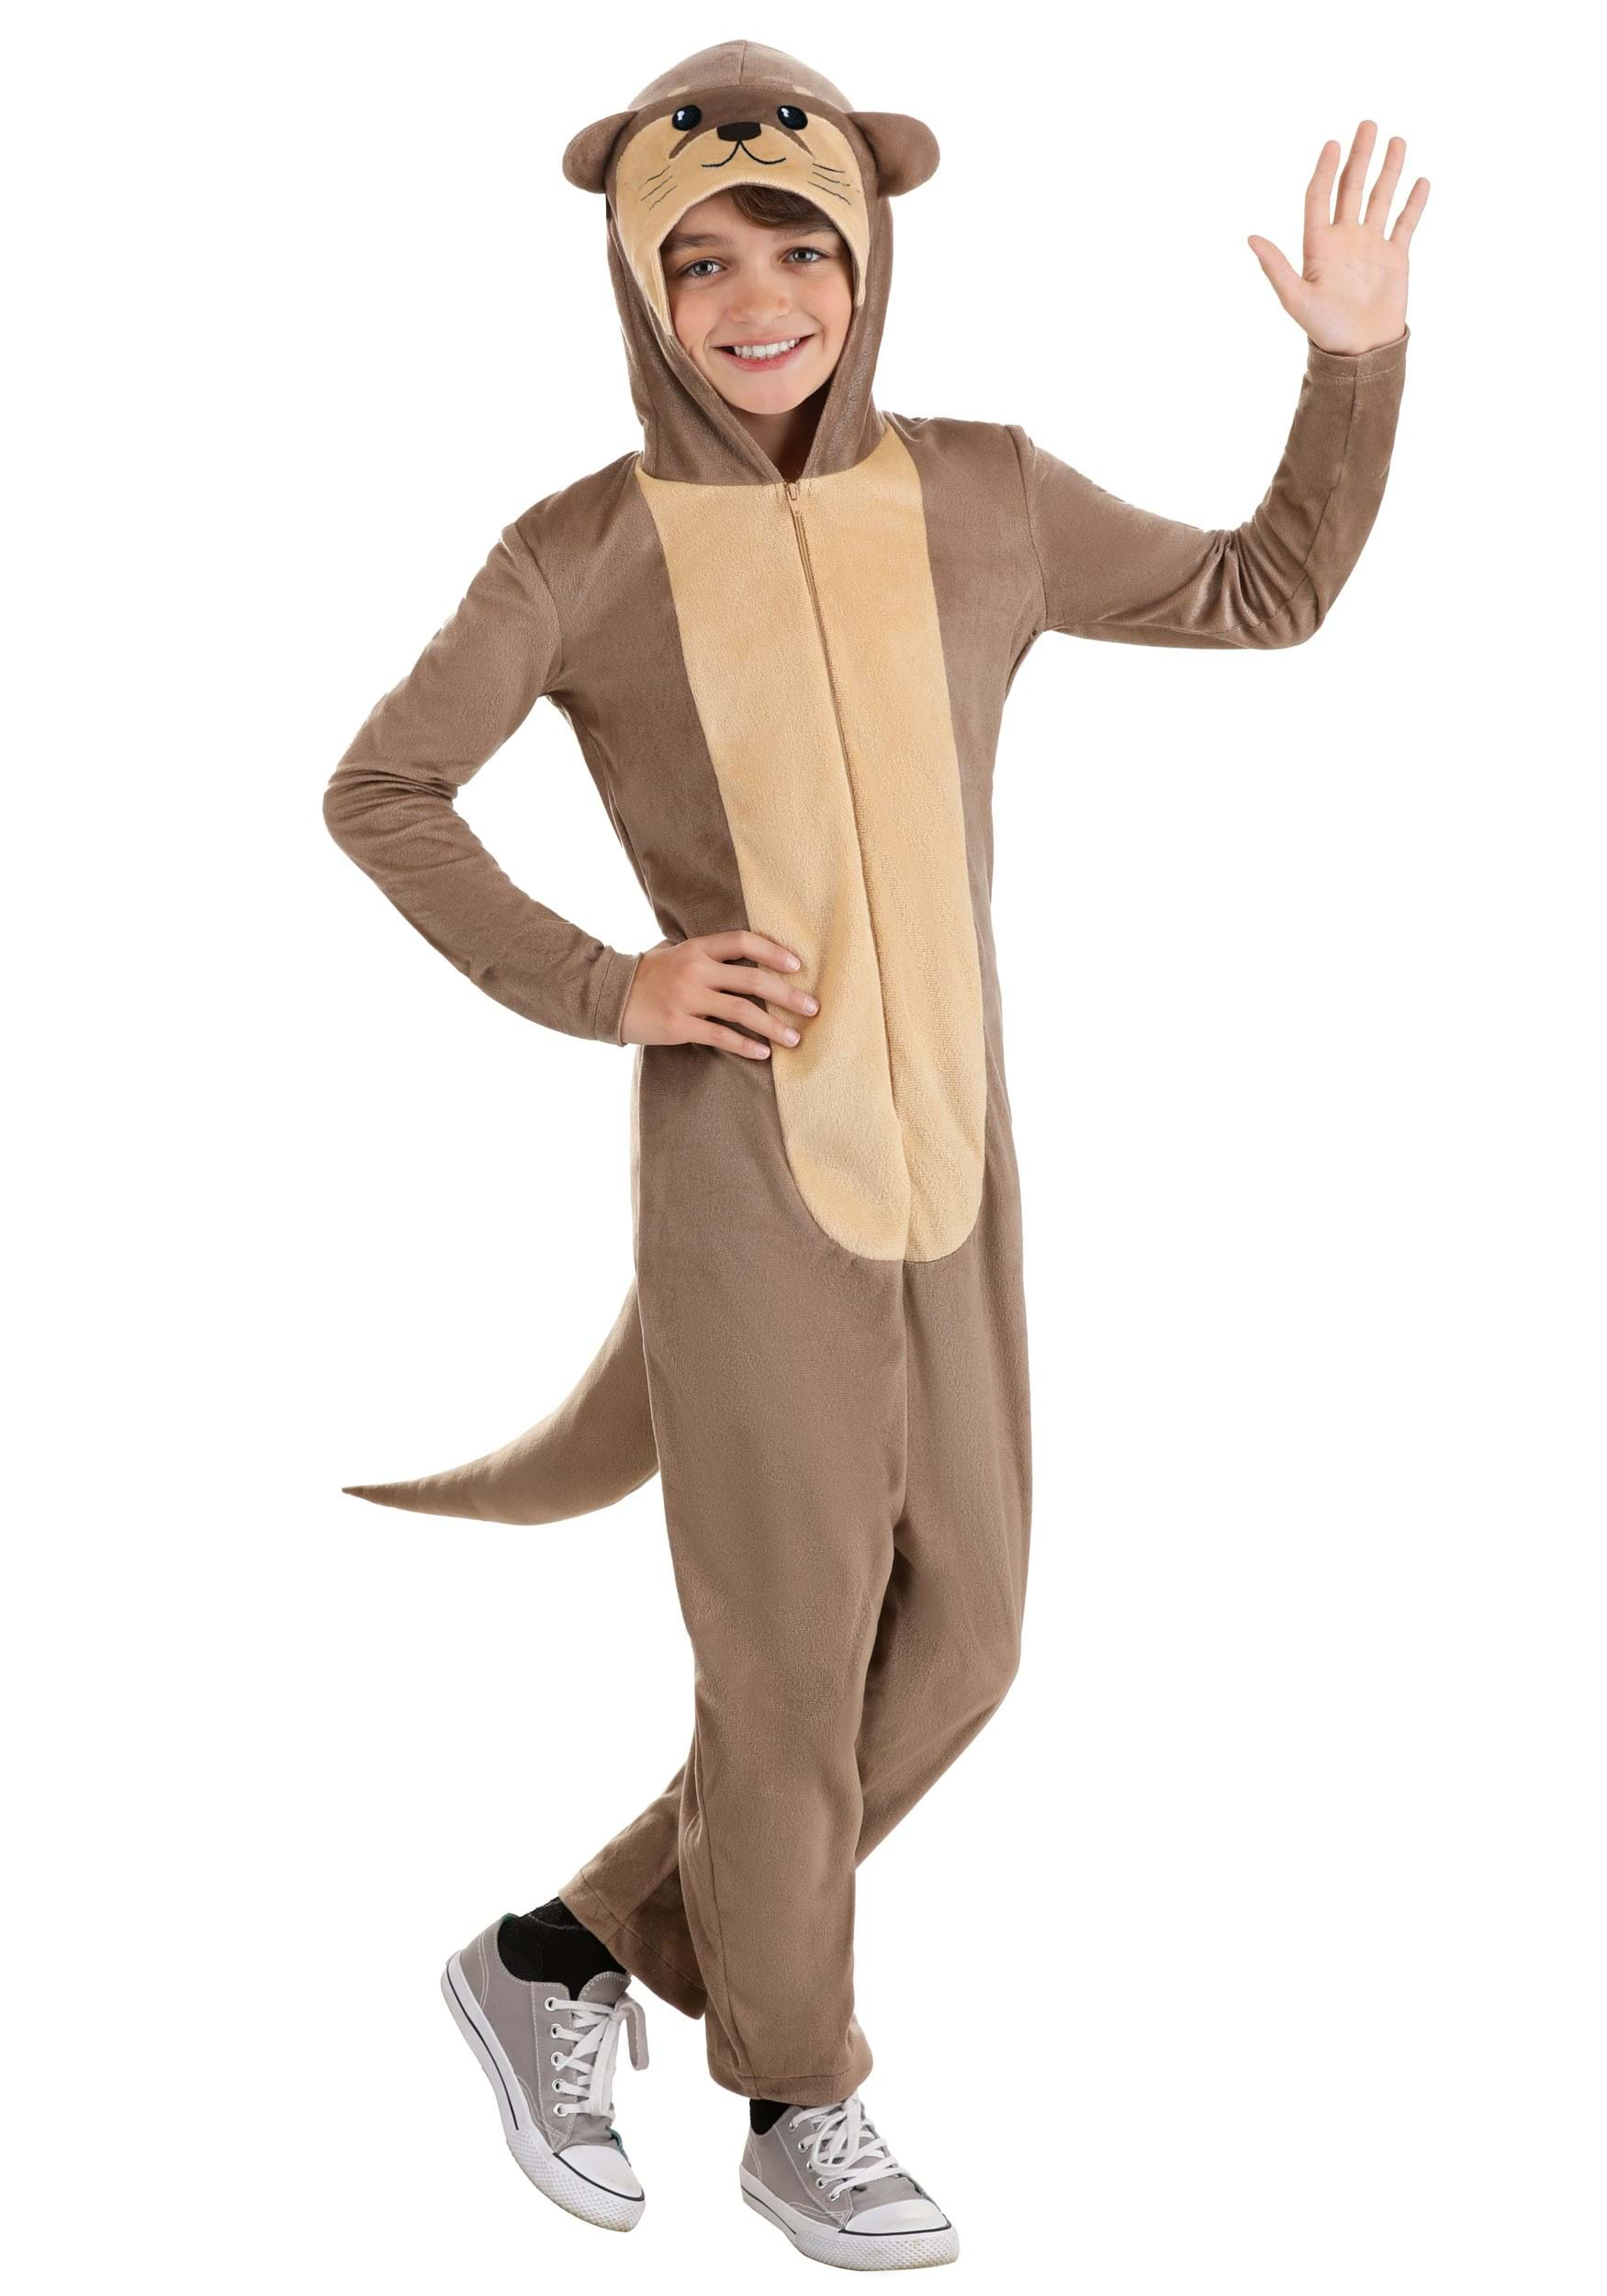
Step 1: Designing the Otter Body
The first step in creating your DIY otter costume is designing the body. This is where the main part of the costume comes together. You’ll want to start by sketching out a pattern on paper to get an idea of the shape you’re aiming for.
Once you’ve finalized your design, cut out the pattern pieces from your fuzzy brown fabric. Don’t forget to include extra fabric for seams! If you’re making a costume for a child, adjust the size accordingly to ensure a comfortable fit.
Tips for Cutting Fabric
- Use sharp scissors to ensure clean cuts.
- Pin the pattern to the fabric to prevent it from moving while cutting.
- Double-check measurements before cutting to avoid mistakes.
Remember, this is your creation, so feel free to tweak the design to suit your preferences. Some people like a more rounded otter body, while others prefer a sleeker look. It’s all about what makes you happy!
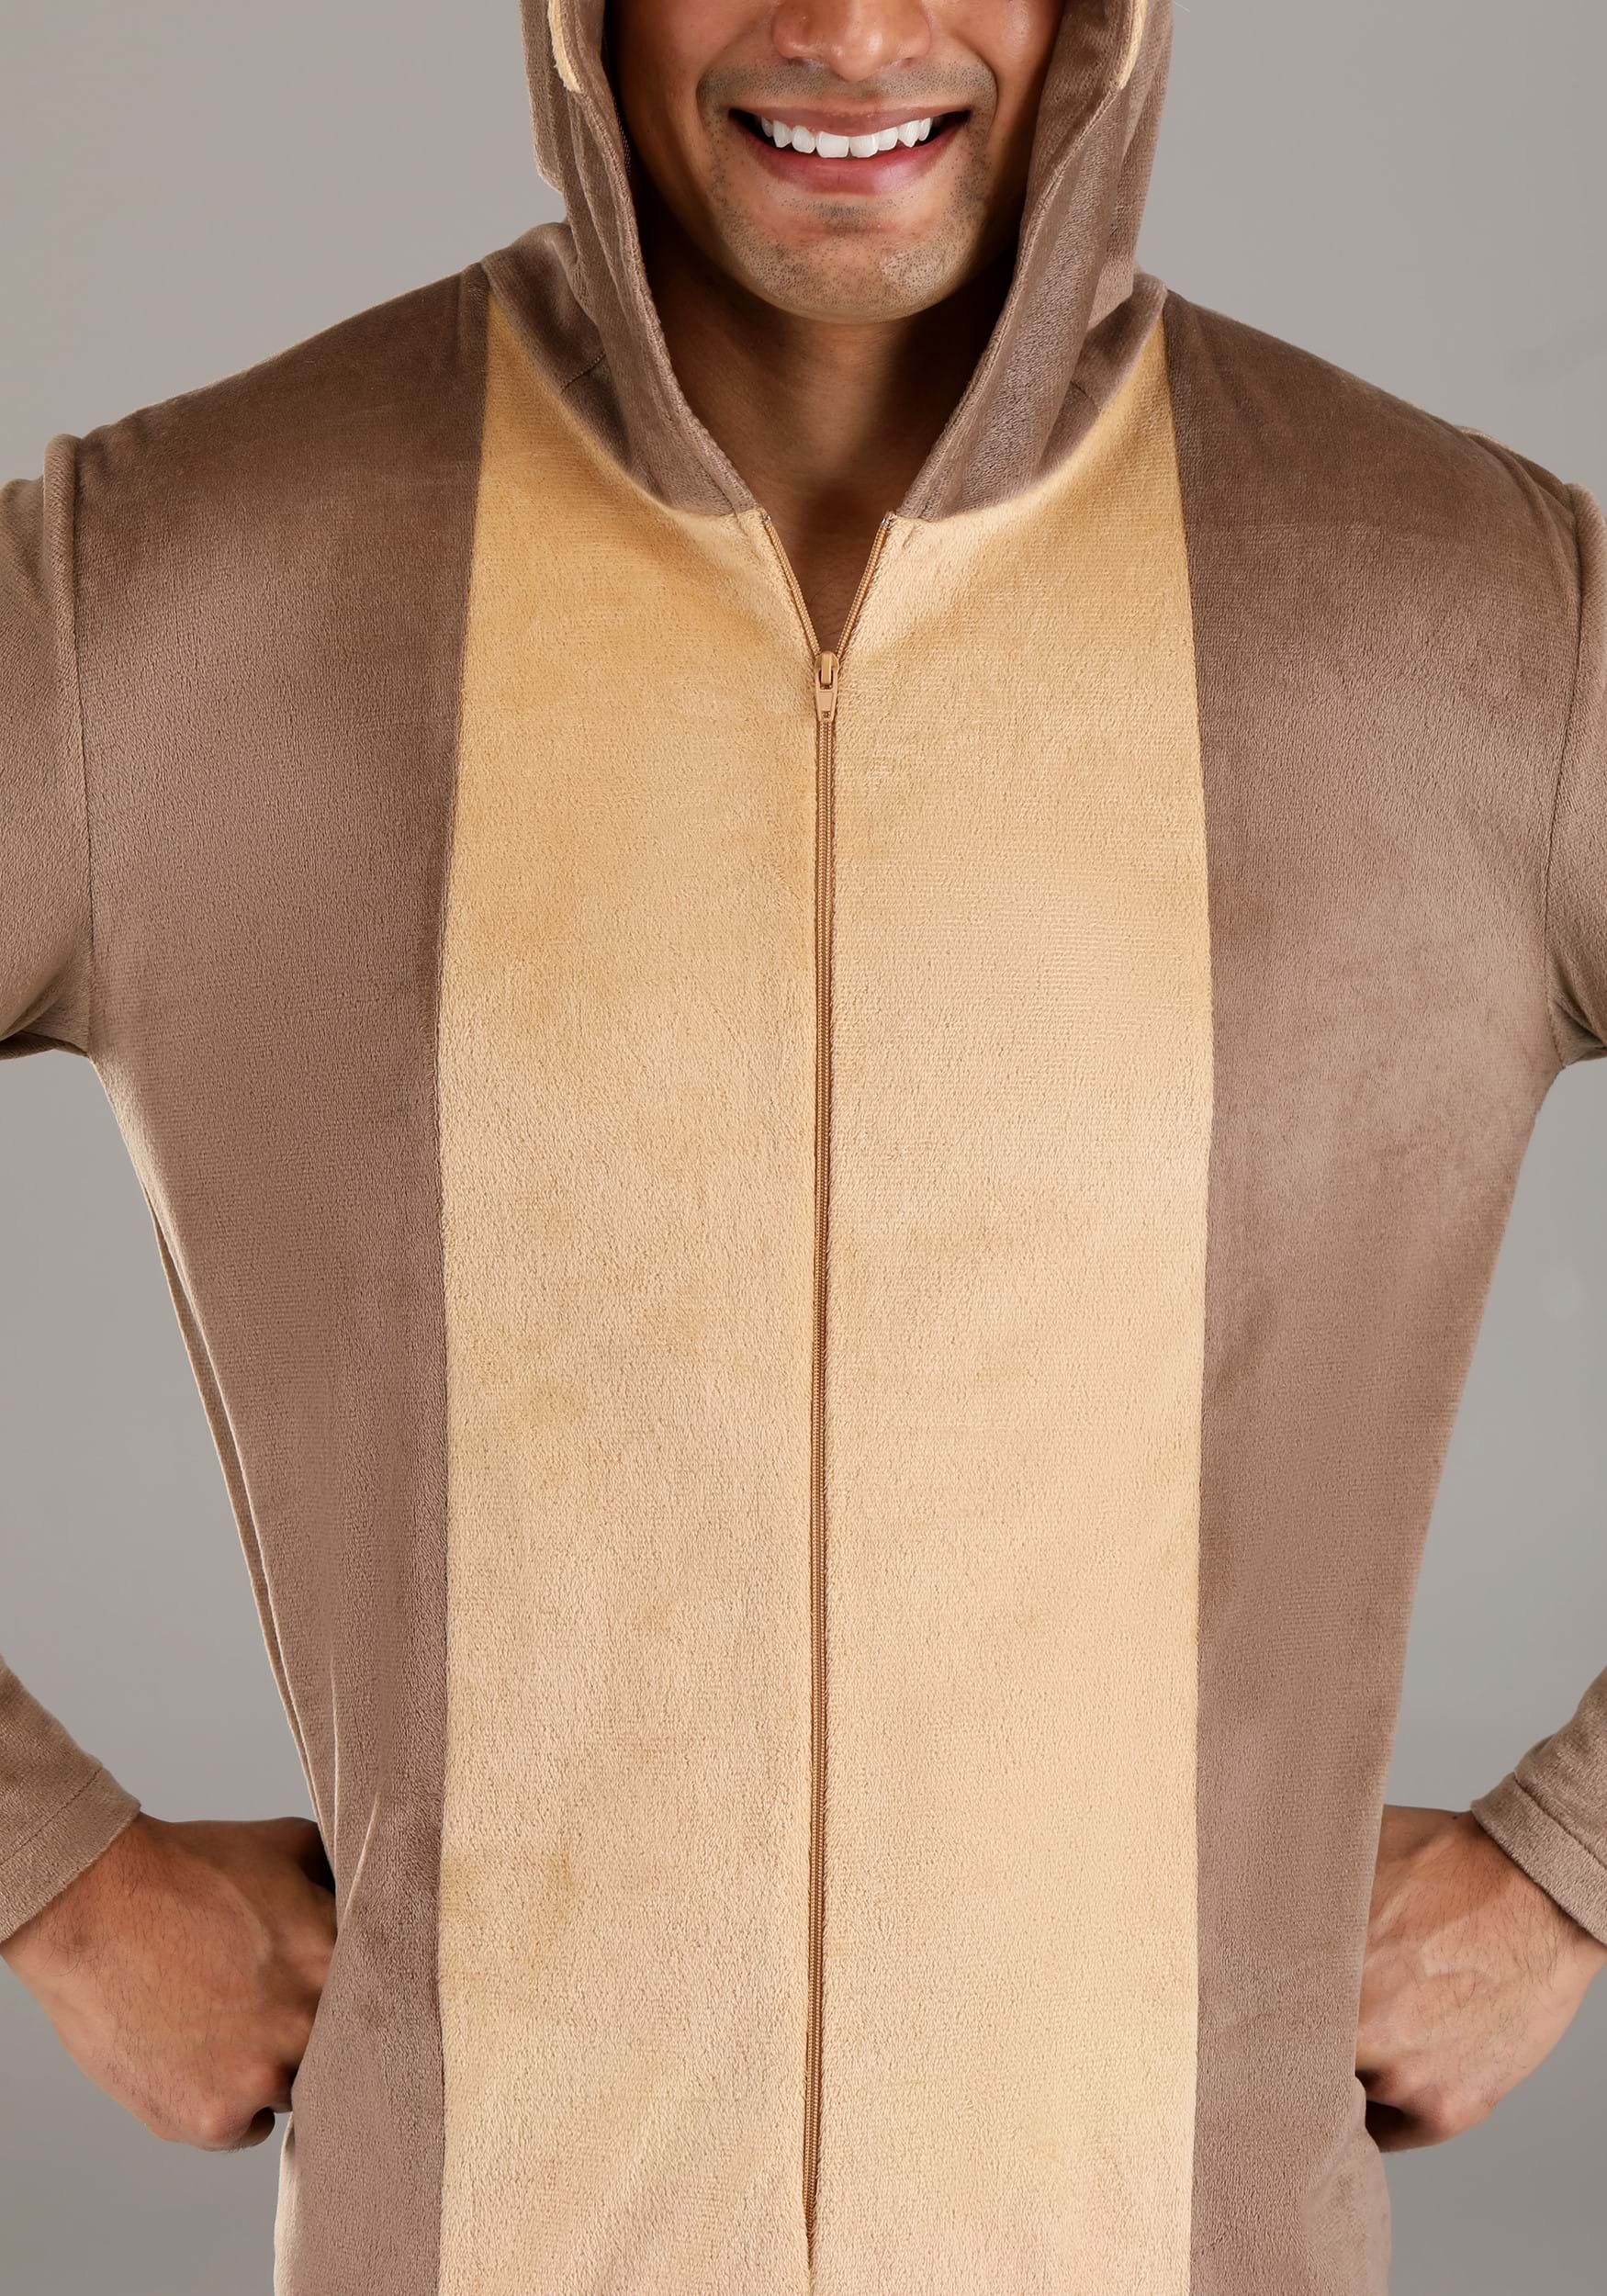
Step 2: Adding the White Belly
No otter costume is complete without a fluffy white belly. This is where the white fabric comes into play. Cut out a piece of white fabric that matches the size of the otter’s belly on your pattern.
Using fabric glue or a sewing machine, attach the white fabric to the inside of the brown fabric. Make sure the edges are securely fastened to prevent any fraying. If you’re worried about the glue not holding, consider using a hot glue gun for extra reinforcement.
Why Use Fabric Glue?
Fabric glue is a great option for beginners because it’s easy to use and doesn’t require any special skills. However, if you’re comfortable with a sewing machine, go for it! Sewing will give your costume a more professional finish.
Step 3: Crafting the Otter Ears
Now it’s time to add those adorable otter ears. Cut out two ear shapes from the fuzzy brown fabric. Again, make sure to include extra fabric for seams. Once you’ve cut out the ear shapes, sew or glue them together, leaving a small opening at the bottom.
Stuff the ears lightly with your chosen stuffing material, then seal the opening. This will give your otter ears a nice, fluffy texture. Attach the finished ears to the top of the otter costume using fabric glue or a sewing machine.
Fun Fact About Otter Ears
Did you know that otters have specially adapted ears that help them hear underwater? While our DIY otter ears won’t give you that ability, they’ll definitely make you look super cute!
Step 4: Creating the Otter Tail
No otter is complete without a fluffy tail. Cut out a long, tapered piece of fuzzy brown fabric for the tail. Sew or glue the edges together, leaving a small opening at one end. Stuff the tail lightly with your chosen material, then seal the opening.
Attach the tail to the back of the otter costume using fabric glue or a sewing machine. Make sure it’s securely fastened so it doesn’t come off during wear.
Why a Fluffy Tail Matters
An otter’s tail is one of its most distinctive features, so getting this part right is crucial. A well-crafted tail will add authenticity to your costume and make it stand out from the crowd.
Step 5: Adding the Otter Face
The final step in creating your DIY otter costume is adding the face. Cut out two small circles from black felt for the eyes and a small triangle for the nose. Use fabric glue or a hot glue gun to attach these pieces to the front of the costume.
If you want to add extra detail, consider using embroidery thread to create eyelashes or whiskers. This will give your otter face even more personality and charm.
Tips for Creating a Realistic Otter Face
- Study pictures of real otters to get inspiration for your design.
- Use different shades of brown fabric to add depth and texture to the face.
- Experiment with different shapes and sizes for the eyes and nose until you find the perfect look.
Remember, the otter face is the focal point of your costume, so take your time and make it as adorable as possible!
Step 6: Putting It All Together
Now that all the individual pieces are complete, it’s time to assemble your DIY otter costume. Sew or glue all the parts together, making sure everything is securely fastened. Try on the costume to ensure a comfortable fit and make any necessary adjustments.
If you’re happy with the way everything looks, give your costume a final once-over to check for any loose threads or imperfections. Once you’re satisfied, your otter costume is ready to wear!
How to Care for Your DIY Otter Costume
Now that you’ve put in all this effort, you’ll want to make sure your otter costume lasts for many events to come. Here are a few tips for caring for your costume:
- Hand wash the costume to avoid damaging the fabric.
- Store the costume in a cool, dry place to prevent mold and mildew.
- Check for loose parts before each wear and repair as needed.
With proper care, your DIY otter costume will bring joy for years to come.
Final Thoughts: Show Off Your Otter Costume!
Creating a DIY otter costume is a fun and rewarding project that anyone can enjoy. Whether you’re crafting it for yourself or your little ones, the end result is sure to be a hit at any event. Remember to have fun with the process and don’t be afraid to add your own personal touches.
Now that you know how to create a DIY otter costume step by step, it’s time to show off your handiwork. Share your creation with friends and family, and don’t forget to take plenty of pictures! And if you’re feeling inspired, why not try making other animal costumes too?
Thanks for reading, and happy crafting! If you enjoyed this guide, be sure to check out our other DIY costume tutorials for even more creative ideas.
Table of Contents
- Why a DIY Otter Costume?
- What You’ll Need to Get Started
- Step 1: Designing the Otter Body
- Step 2: Adding the White Belly
- Step 3: Crafting the Otter Ears
- Step 4: Creating the Otter Tail
- Step 5: Adding the Otter Face
- Step 6: Putting It All Together
- How to Care for Your DIY Otter Costume
- Final Thoughts: Show Off Your Otter Costume!
- Hdhub4u Movies Free Download The Ultimate Guide To Streaming And Downloading Movies
- Why Baseboard Corner Protectors Are Essential For Every Home

How To Create A DIY Otter Costume StepbyStep Guide For All Ages
Otter Kid's Costume
Otter Adult Costume
