Access Raspberry Pi From Web Browser: The Ultimate Guide For Tech Enthusiasts
Hey there, tech-savvy friend! Ever wondered how to access your Raspberry Pi from a web browser? Well, you're in the right place because today we're diving deep into this topic. Whether you're a beginner or a seasoned Raspberry Pi enthusiast, this guide will walk you through everything you need to know about accessing your Pi remotely via a browser. Trust me; this is going to be epic!
So, here's the deal. Accessing Raspberry Pi from a web browser is not just a cool trick; it's a game-changer for managing your projects remotely. Imagine being able to control your home automation system, monitor your security cameras, or even run a web server—all from the comfort of your favorite browser. Sounds awesome, right?
Before we get into the nitty-gritty, let me give you a heads-up. This guide is packed with practical tips, step-by-step instructions, and expert advice. By the end of this article, you'll have everything you need to set up seamless access to your Raspberry Pi. So grab a cup of coffee, sit back, and let's get started!
- 300mb Movies Your Ultimate Guide To Lightweight Entertainment
- Unlock The Secrets Of Hd Hub4uone Your Ultimate Guide
Here's the table of contents to help you navigate through the article:
- Introduction to Accessing Raspberry Pi from a Web Browser
- Why Access Raspberry Pi from a Web Browser?
- Setting Up Your Raspberry Pi
- Enabling Remote Access
- Installing a Web Server on Raspberry Pi
- Using SSH Over a Web Browser
- Securing Your Raspberry Pi
- Troubleshooting Common Issues
- Real-World Applications
- Wrapping It Up
Introduction to Accessing Raspberry Pi from a Web Browser
Alright, let's start with the basics. Accessing Raspberry Pi from a web browser means you can interact with your Pi using any device that has a browser. This could be your laptop, smartphone, tablet, or even a desktop at work. The beauty of this setup is that it eliminates the need for physical access to your Pi, making remote management a breeze.
Now, why is this important? Well, in today's interconnected world, being able to manage your devices remotely is not just convenient; it's essential. Whether you're running a home server, managing IoT devices, or just want to tinker with your Pi from afar, web browser access opens up a world of possibilities.
- Hd Hub 4 U Tv Your Ultimate Streaming Destination
- Hd Movie 4u Hub Your Ultimate Destination For Highquality Entertainment
Benefits of Web Browser Access
Here are some key benefits you'll enjoy by accessing your Raspberry Pi from a web browser:
- Convenience: No need to carry around a keyboard, mouse, or monitor.
- Flexibility: Access your Pi from anywhere in the world.
- Cost-Effective: No additional hardware required.
- Scalability: Easily manage multiple Pi devices from a single interface.
Why Access Raspberry Pi from a Web Browser?
Let's face it; traditional methods of accessing Raspberry Pi, like SSH or VNC, can be a bit clunky. While they get the job done, they often require specific software and configurations that might not be available on all devices. That's where web browser access shines.
By using a browser, you eliminate the need for additional software installations. Plus, most modern browsers are optimized for speed and security, making them an excellent choice for remote access. Whether you're troubleshooting a problem or monitoring a project, having instant access via a browser is a game-changer.
Key Advantages Over Traditional Methods
Here's how accessing Raspberry Pi from a web browser compares to other methods:
- No Software Dependency: Unlike SSH or VNC, web access works out of the box.
- Device Independence: Access your Pi from any device with a browser.
- Easy Setup: Configuring web access is straightforward and doesn't require advanced technical skills.
Setting Up Your Raspberry Pi
Before we dive into the web browser access part, let's make sure your Raspberry Pi is set up correctly. This step is crucial because a well-configured Pi will ensure smooth remote access.
Here's a quick checklist to get your Pi ready:
- Install the latest version of Raspberry Pi OS.
- Update all packages and firmware.
- Set up a static IP address for your Pi.
- Enable SSH if you plan to use it alongside web access.
Installing Essential Packages
Depending on your use case, you might need to install additional packages. For example, if you're setting up a web server, you'll need to install Apache or Nginx. Here's how you can do that:
sudo apt update && sudo apt install apache2
This command installs the Apache web server, which is perfect for serving web pages from your Pi.
Enabling Remote Access
Now that your Pi is set up, it's time to enable remote access. This involves configuring your network settings and opening the necessary ports on your router.
Here's a step-by-step guide:
- Log in to your router's admin interface.
- Find the port forwarding section.
- Add a new rule to forward port 80 (HTTP) or 443 (HTTPS) to your Pi's IP address.
Once this is done, you should be able to access your Pi's web interface from outside your local network.
Testing the Connection
Before moving on, it's a good idea to test the connection. Open a browser on another device and enter your Pi's public IP address followed by the port number (e.g., http://your-public-ip:80). If everything is set up correctly, you should see the default Apache page or whatever you've configured.
Installing a Web Server on Raspberry Pi
If you're planning to host a website or run a web application on your Pi, installing a web server is a must. As mentioned earlier, Apache is a popular choice, but you can also opt for Nginx or Lighttpd depending on your requirements.
Here's how to install Nginx:
sudo apt update && sudo apt install nginx
Once installed, you can start, stop, or restart the server using these commands:
sudo systemctl start nginxsudo systemctl stop nginxsudo systemctl restart nginx
Configuring the Web Server
After installation, you'll need to configure the server to suit your needs. This involves editing the configuration files located in /etc/nginx/sites-available/. You can use any text editor, but Nano is usually the easiest to work with:
sudo nano /etc/nginx/sites-available/default
Make the necessary changes and save the file. Then, restart the server to apply the changes.
Using SSH Over a Web Browser
For those who prefer a command-line interface, SSH over a web browser is a great option. This allows you to execute commands on your Pi directly from your browser without installing any additional software.
One popular tool for this is WebSSH. Here's how to set it up:
- Install Node.js on your Pi.
- Clone the WebSSH repository from GitHub.
- Run the WebSSH server.
Once set up, you can access the SSH interface by visiting http://your-pi-ip:port in your browser.
Advantages of WebSSH
Here are some benefits of using WebSSH:
- Platform Independence: Works on any device with a browser.
- Security: Uses encrypted connections for data transfer.
- Convenience: No need to remember complex commands.
Securing Your Raspberry Pi
Security should always be a top priority when setting up remote access. Here are some tips to keep your Pi safe:
- Change the default SSH port to something non-standard.
- Use strong passwords or, better yet, SSH keys for authentication.
- Install a firewall to block unauthorized access.
- Regularly update your Pi's software and firmware.
Firewall Configuration
A firewall can help protect your Pi from unauthorized access. You can use UFW (Uncomplicated Firewall) to set up basic rules:
sudo apt install ufw
sudo ufw allow ssh
sudo ufw enable
This will allow SSH traffic while blocking everything else by default.
Troubleshooting Common Issues
Even with careful setup, things can sometimes go wrong. Here are some common issues and how to fix them:
- Cannot Connect: Check your router's port forwarding settings and ensure the Pi's IP address is correct.
- Slow Access: Optimize your network settings and consider upgrading your internet connection.
- Security Alerts: Regularly update your Pi and monitor logs for suspicious activity.
Debugging Tips
Here are some debugging tips:
- Use tools like
pingandtracerouteto diagnose network issues. - Check the server logs for errors (
/var/log/nginx/error.logfor Nginx). - Test the connection from different devices to rule out device-specific problems.
Real-World Applications
Accessing Raspberry Pi from a web browser opens up a world of possibilities. Here are some real-world applications:
- Home Automation: Control smart devices and monitor your home remotely.
- Security Monitoring: Set up cameras and access feeds from anywhere.
- Web Hosting: Run a personal website or blog from your Pi.
- IoT Projects: Manage and monitor IoT devices with ease.
Case Study: Home Automation
Imagine setting up a home automation system using Raspberry Pi. You can control lights, thermostats, and security systems all from your browser. This not only adds convenience but also enhances the security of your home.
Wrapping It Up
And there you have it, folks! A comprehensive guide to accessing Raspberry Pi from a web browser. Whether you're a beginner or an advanced user, this setup offers flexibility, convenience, and scalability. Remember to always prioritize security and keep your Pi updated to avoid potential issues.
So, what are you waiting for? Grab your Pi, follow the steps in this guide, and start exploring the endless possibilities of web browser access. And don't forget to share your experience in the comments below or check out our other articles for more tech tips and tricks!
- Crumbl Cookies Of The Week Menu A Sweet Adventure For Every Taste Bud
- Hdhub4u Your Ultimate Destination For Entertainment Agravecurrenregagravecurrensectagraveyen141agravecurrenmacragraveyendagger

Raspberry Pi Pico W Archives Page 2 of 3 Raspberry Pi
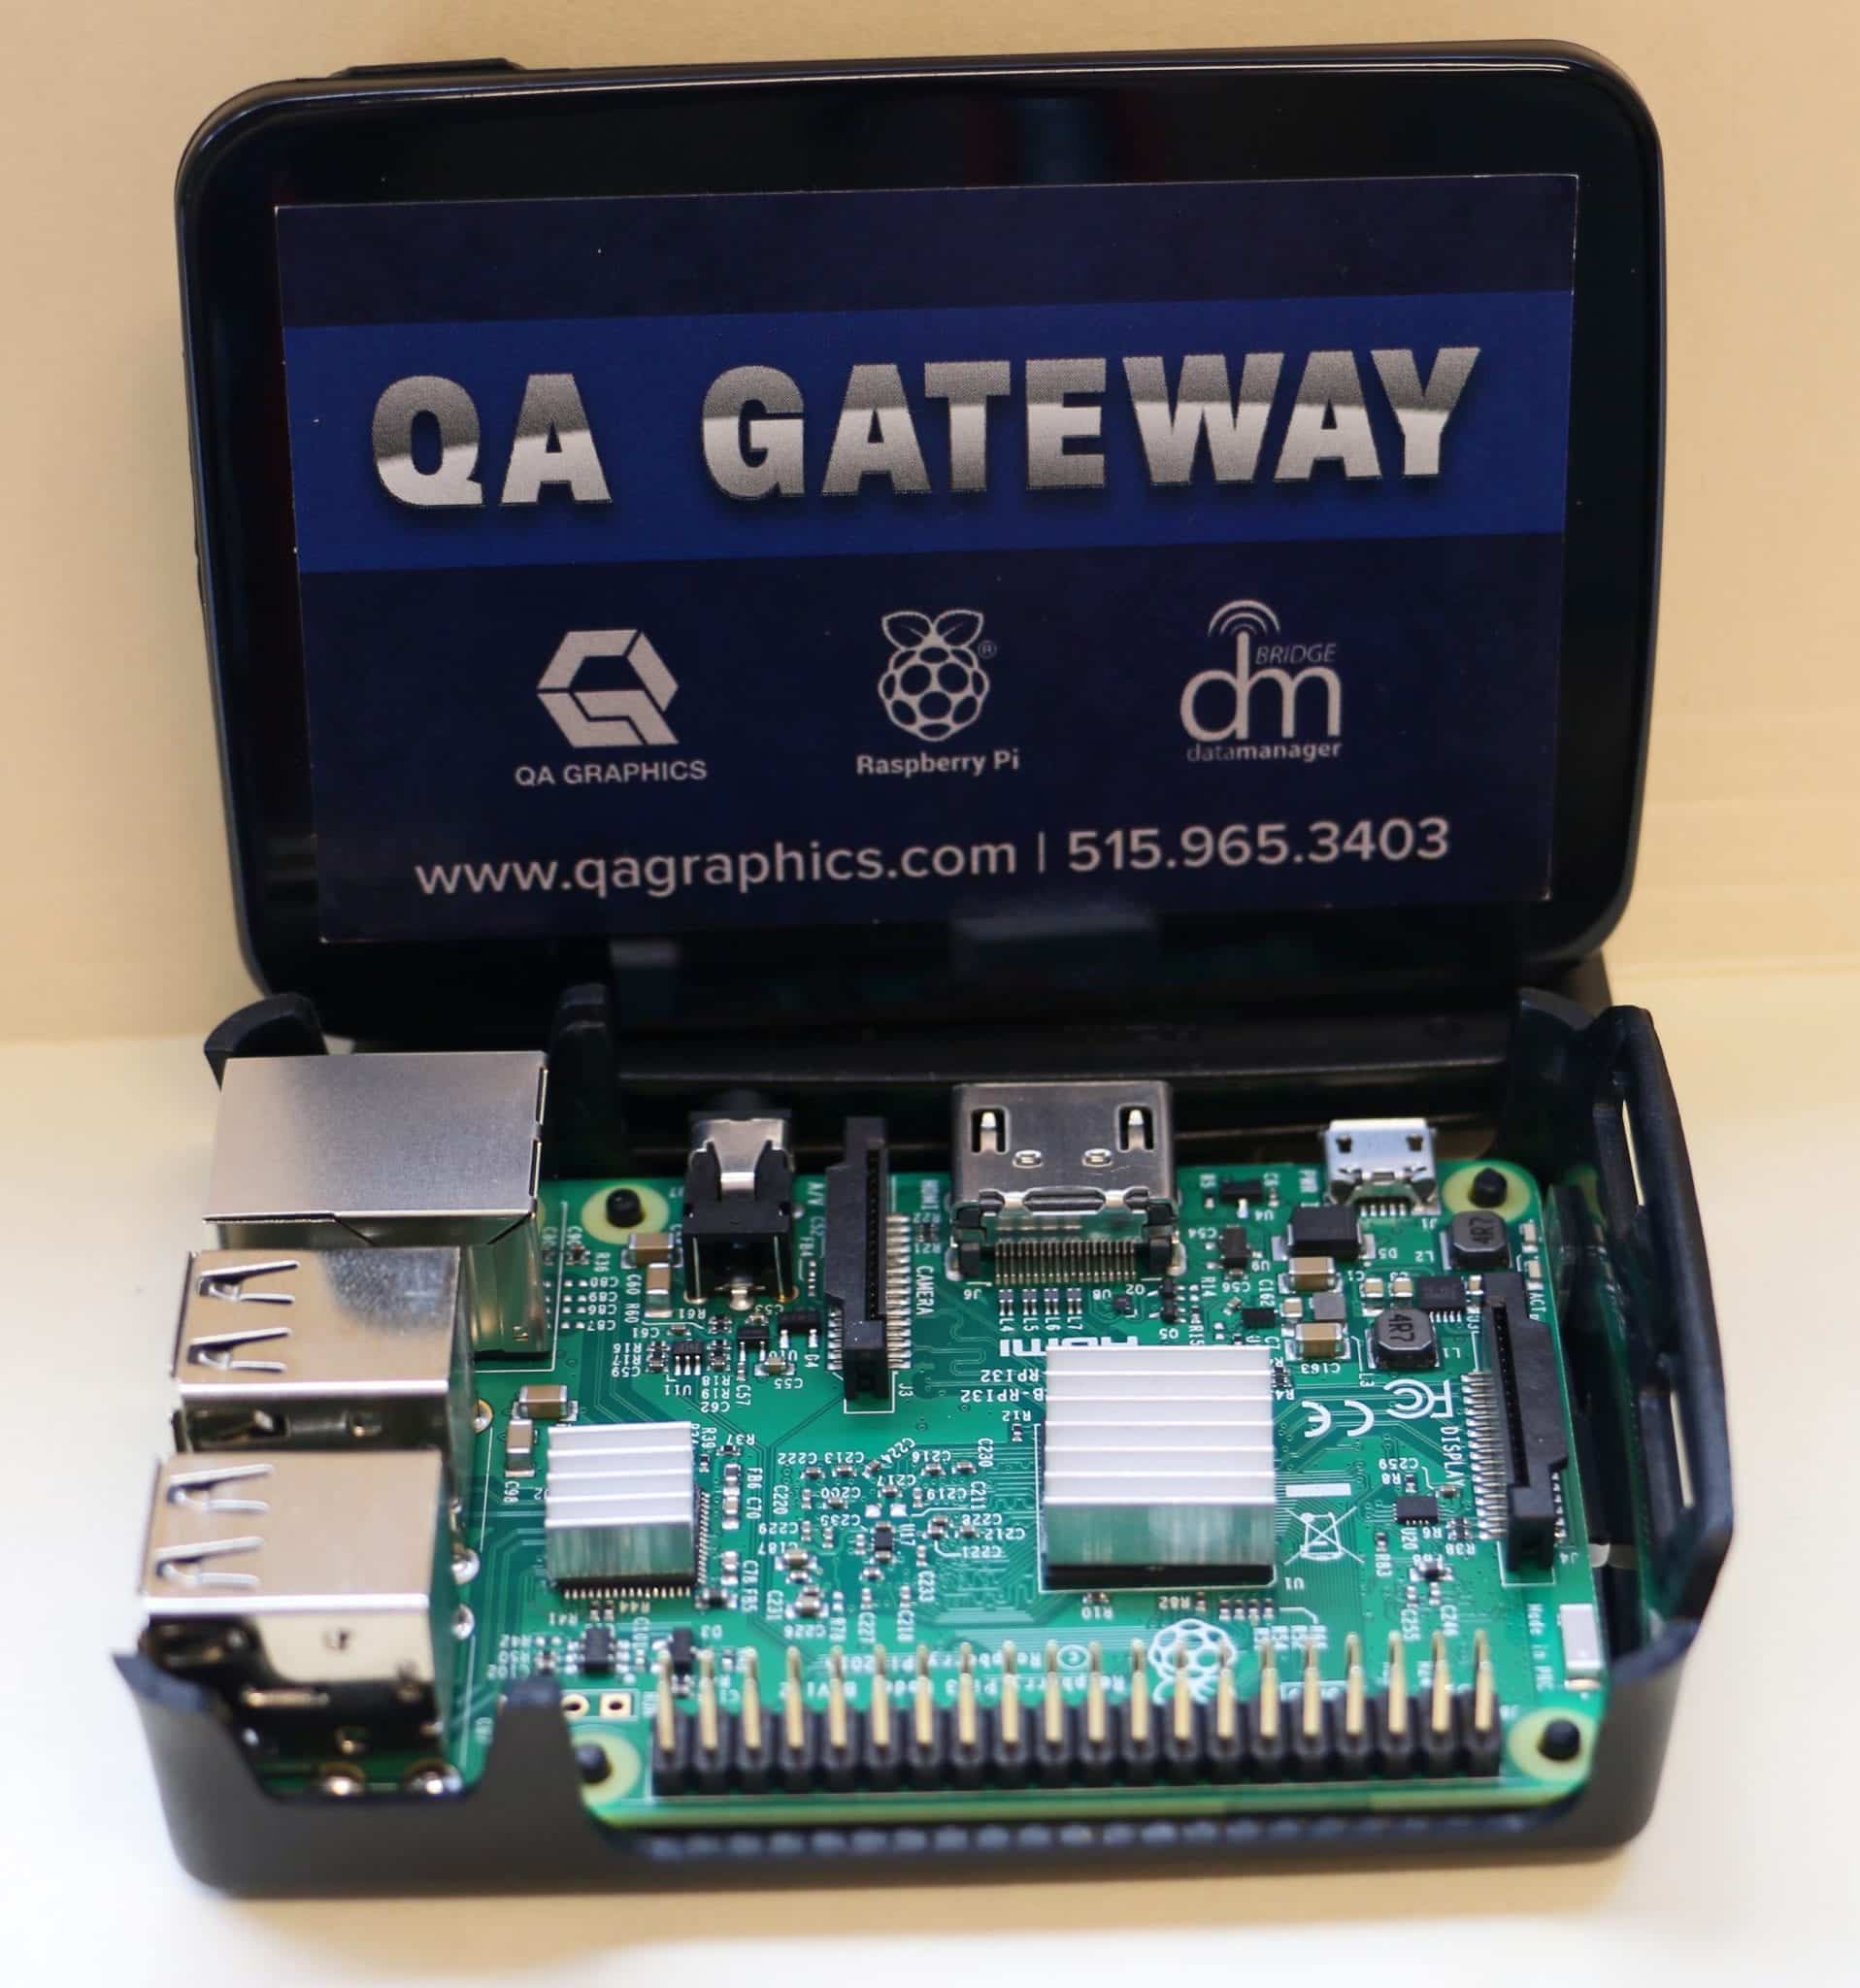
Raspberry pi QA Graphics

Raspberry Pi WiFi Access Point Raspberry_Pi PiDay RaspberryPi
